This time I opted for something a bit more fitted with an elastic neckline so i can nurse the baby but still wear it after we are done nursing. Anything sewn on the serger can be sewn on a sewing machine using a zigzag stitch instead.
My fabric is 1.5 yards of 60″ wide jersey. The piece I’m using for the back is 1.5 yards long and 28″ wide, that leaves the other piece 1.5 yards long and 32″ wide. I sew both of the long sides together, then I sew from the top corner to about an inch from the center on both sides. This leaves an extra 4 inches of fabric unsewn on the front side in the middle of where the neck will be.
Trim off the very edge to about eight inches down the sides from where the shoulders will be. These are your sleeve openings. Yay, sleeves!
Next I’m going to work on a bit of a waist curve. I want more of a curve under the arm than from the waist to the hip, so I’m going to elongate the lower curve when I’m sewing from the waist to the hip.
You can see I’ve left a nub from the arm cutout to the waist cutout.
I sew the waist cutout closed first. Then there is more of a protruding sleeve.
I serge stitch the edges of the sleeve, a zigzag stitch really will work fine here if you don’t have a serger, but you do need it to stabilize a turned edge if you don’t like pinning. (I don’t!) The serger has the advantage of trimming the ends before it sews them which is awesome.
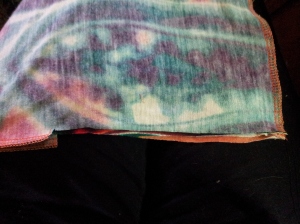
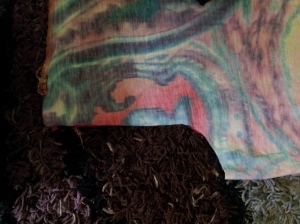
Below you can see my sleeve and inset waist curve at the top, on the left side there is the shoulder and neckline with the small gap at the nape of the neck with the extra fabric loose on the front. This is very important to create a nursing top.
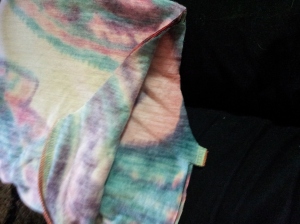
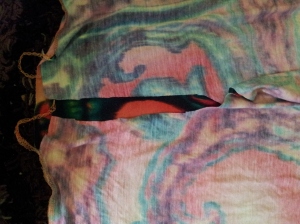
Here I have folded the fabric so the front inside is facing out and to the left. On the inside is the back fabric showing several inches shorter. This is the future neck opening.
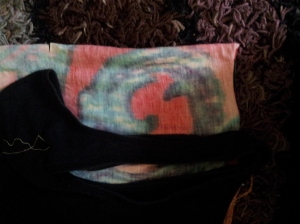
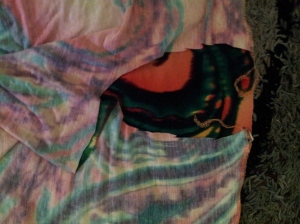
I’m comparing a tank top neckline to the extra fabric. I snip the fabric at the lowest point over the bust.
This is my first cut mimicking the scoop neck line of the tank top.
When i flatten it out, it’s not wide enough, so I fold it back up…
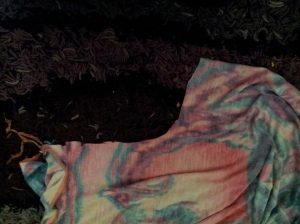
Taking care to cut only the front and use the same curve, but the very front center of the garment is a much longer straight cut. It looks like it’s at an angle, but it isn’t really.
I hem around the neckline with my serger.
If you aren’t using a serger to make your dress, use zig zag stitch and trim carefully around the edges afterward. Be sure to use stretch needles. Having the right needle makes a world of difference for any sewing project!
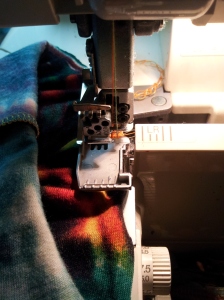
The stitch selected below is a triple stitch. This and the zigzag stitches are to allow stretch in fabric. This is what I’m using to turn my edges.
I fold the edges on my sleeves and neckline over and stitch around. Always start in a less visible spot like the underarm seam or near the back of the neck. With the neckling I allow a generous amount of fabric between the edge and the seam. On a normal hemmed edge one might only allow 1/4 inch but I’m doubling that because i want to thread elastic cording through. This will double as a decorative gather at the bust as well as allow stretch for nursing. I’m not sewing the back of the neck closed tho…
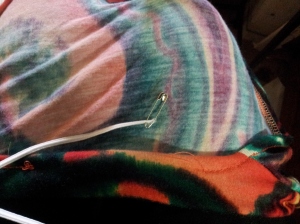
Attached to a safety pin the elastic cording will be fed into the edge and out through the other side.
I try the dress on at this point and make sure the gathering is high enough, making adjustments to the cording’s length. Once it’s right I will sew the cording into place where the shoulder seams meet the collar’s edge. Then I’ll cut the cording off, trimming it close to where it’s been stitched in place.
Stitching the cord before trimming…
Then I finish hemming the collar on the back side. If you haven’t done your sleeves, turn and stretch stitch them.
Trim your hem to desired length. 1.5 yards hits me a few inches below the knee. Since it’s summer I like a tea length dress, and that’s about right. For a longer dress, get two yards, for a long top to wear over jeans, get one yard.
You can serge it at this point and turn it to stitch a very neat finished hem, or just leave it raw since jersey won’t unravel. It is a knit fabric so it will actually run after time, so I serge my hem without turning it like I did the neck and sleeves. Maybe I will turn it later
I’ll post a picture as soon as I can get someone to take one.








 I did have to run out and grab a belt or three, on the cheap from our local Ross store. (Yay, $7 belts!)